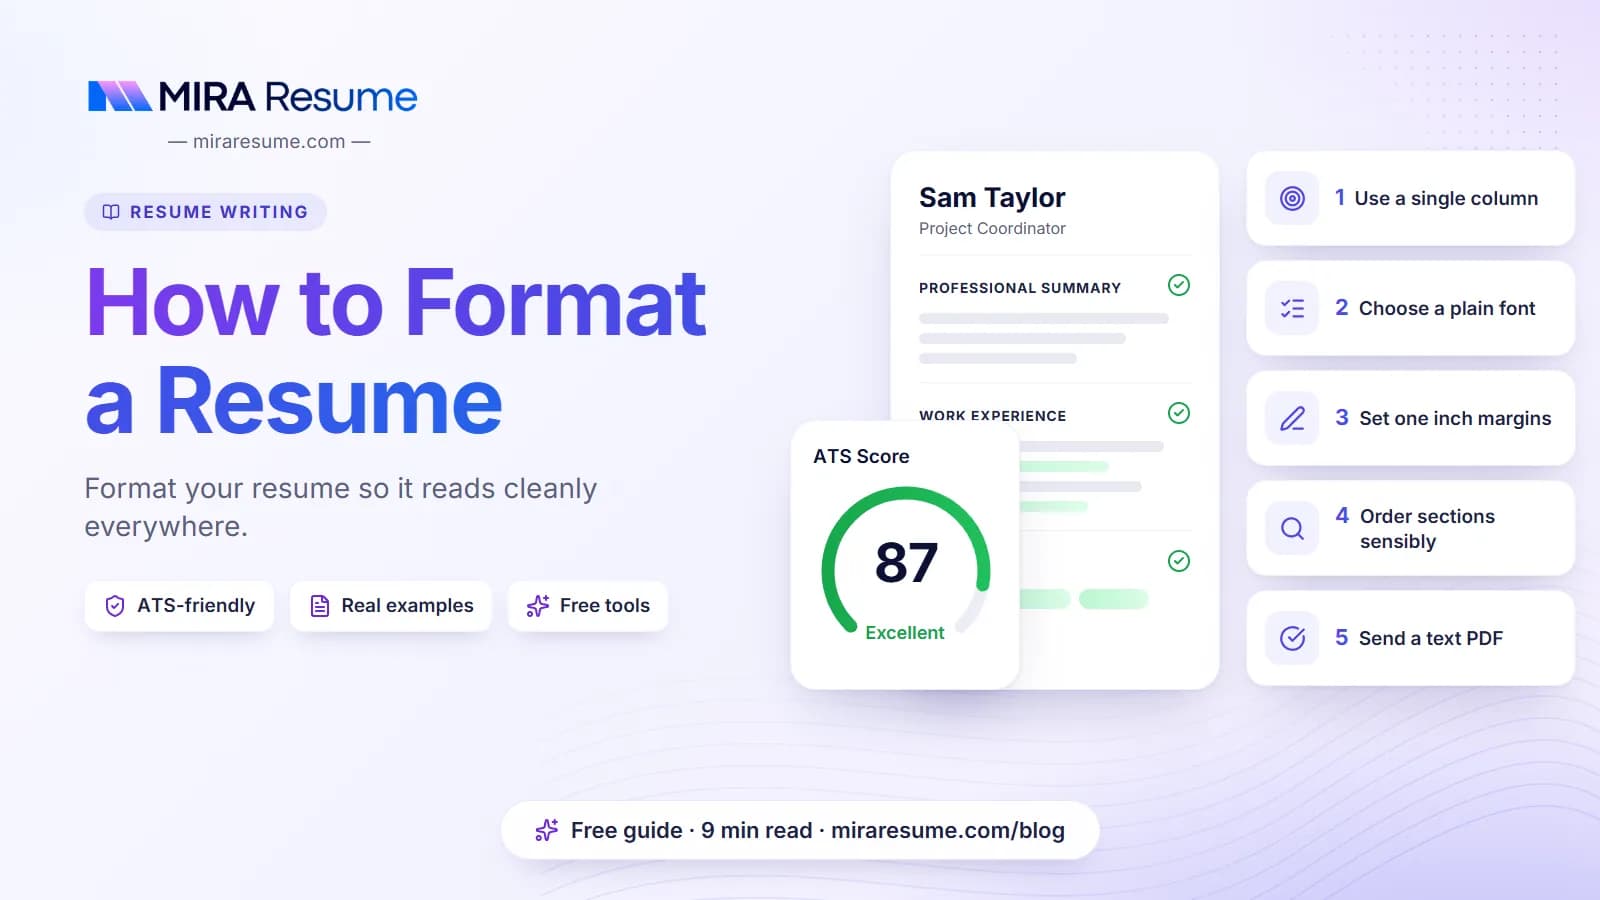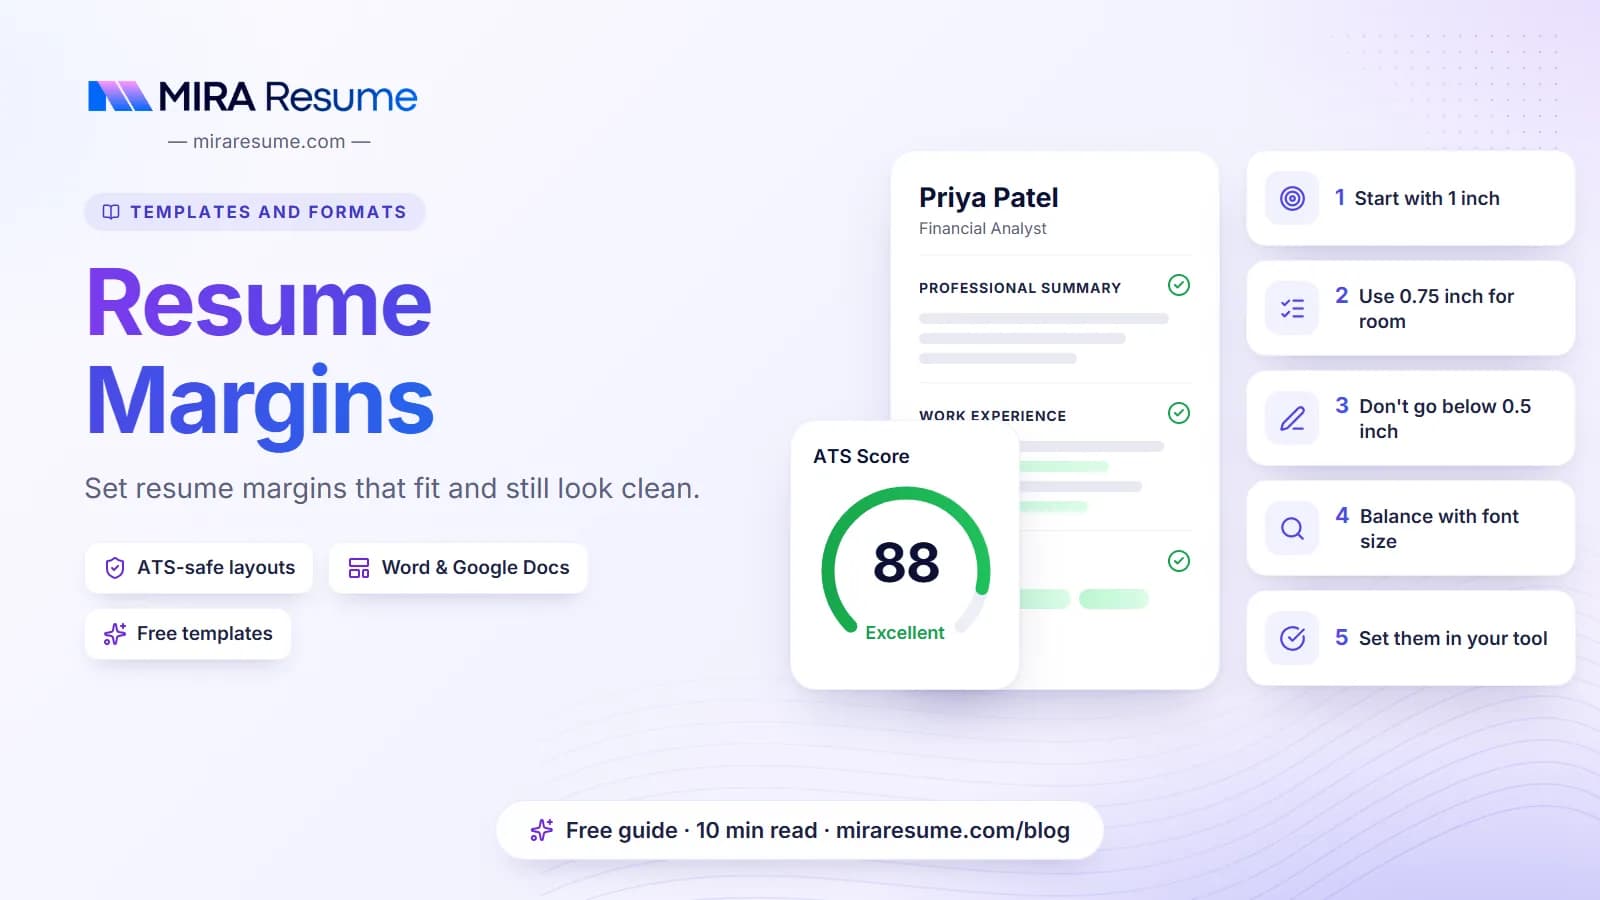

Most resume margins are set to 1 inch (2.54 cm) on all four sides. That is the default in Word and Google Docs, and it gives a clean frame of white space around your text. If you need a little more room, anything from about 0.5 to 1 inch is widely accepted.
None of this is a strict rule. No recruiter measures your page with a ruler. But margins affect how calm or crowded a resume looks, whether it prints cleanly, and how much fits on one page. Small changes go a long way.
This guide covers the usual sizes, a table of settings by situation, inch and millimeter equivalents for A4 and US Letter paper, how to change margins in Word, Google Docs and Pages, and how to match your cover letter. For the rest of the layout, such as fonts and section order, see how to format a resume.
Standard resume margins at a glance
If you just want a setting to use, start here.
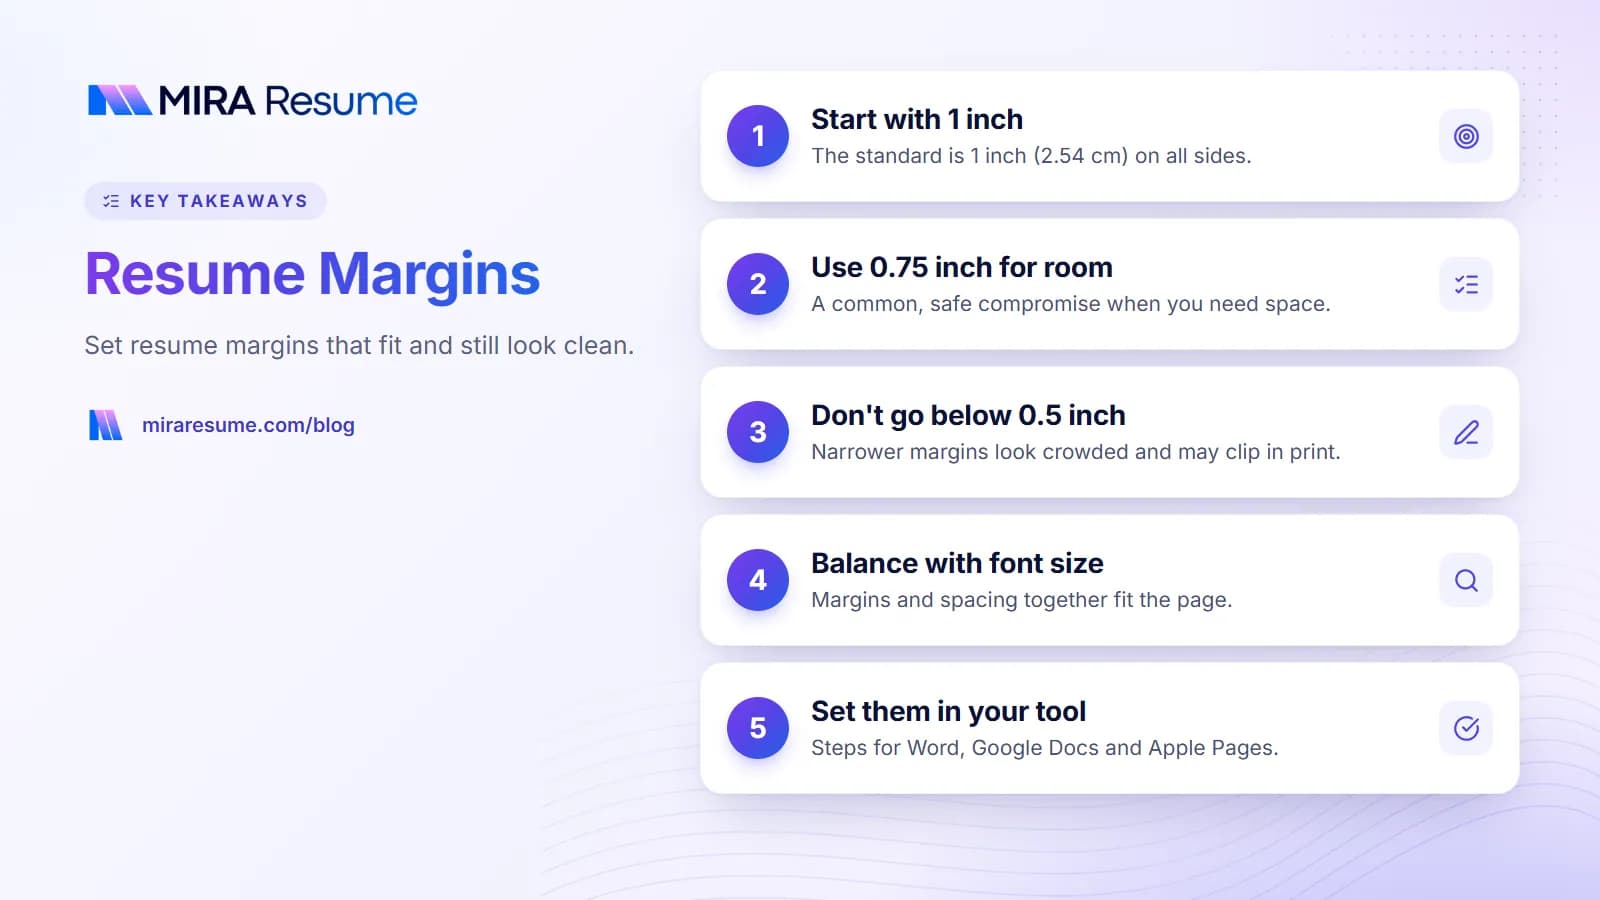
- Default: 1 inch (2.54 cm) on all sides.
- A bit more room: 0.75 inch (1.9 cm) left and right, 0.75 to 1 inch top and bottom.
- Tight but still common: 0.5 inch (1.27 cm). Most people treat this as the floor.
- Keep left and right equal. Uneven side margins make the page look off-center.
Top and bottom margins can be a little smaller than the sides if you need space, because a slightly shorter frame is less noticeable than narrow side edges. Keep them within the same range.
Margins are one part of how a page looks. If you are still deciding on the overall layout, our guide to what a resume should look like shows how margins, spacing, and headings fit together.
Resume margin size: the acceptable range and the trade-offs
Think of margins as a dial between "airy" and "packed." Each setting has a cost and a benefit.
| Margin size | Metric equivalent | How it looks | Trade-off |
|---|---|---|---|
| 1 inch | 2.54 cm (25.4 mm) | Balanced, classic | Least room for text |
| 0.9 inch | about 2.3 cm | Almost identical to 1 inch | Gains a little space no one will notice |
| 0.75 inch | about 1.9 cm | Still clean and open | A common, safe compromise |
| 0.6 to 0.7 inch | about 1.5 to 1.8 cm | Fuller page | Starts to feel dense if spacing is also tight |
| 0.5 inch | 1.27 cm | Packed | Can look cramped and is closer to a printer's unprintable edge |
| Under 0.5 inch | under 1.27 cm | Crowded | Hard to read and may be clipped when printed. Avoid. |
The trade-off below about 0.7 inch
Once you go under roughly 0.7 inch, each step down saves only a line or two per page, while the page starts to look crowded. A full-edge page with tight lines is tiring to read. If you are below 0.7 inch and still over one page, the problem is usually the amount of text, not the margins. Cutting a weak bullet often saves more space than another tenth of an inch.
Margins for a resume by situation
Use this table to pick a setting that fits your goal. These are conventions, not rules, and any of them is fine if the page looks balanced.
| Situation | Suggested margins | Why |
|---|---|---|
| Default for most resumes | 1 inch all sides | Looks clean and matches most templates |
| A few lines over one page | 0.75 inch sides, 0.7 to 0.75 inch top and bottom | Often enough to pull the last lines back |
| Dense technical resume | 0.6 to 0.75 inch | Room for skills and tools without shrinking type |
| Short resume with lots of space | 1 inch, with more space between sections | Better than stretching margins to fill the page |
| Will be printed or faxed | At least 0.75 inch | Leaves room for printer edges and hole punching |
| Two-page resume | Same margins on both pages, usually 0.75 to 1 inch | Pages should look like one document |
| Cover letter | Match your resume, usually 1 inch | The two documents look like a set |
| Academic CV | 1 inch | Long documents read better with more white space |
A4 vs US Letter: inches, centimeters, and millimeters
US Letter (8.5 by 11 inches, about 216 by 279 mm) is the norm in the United States and Canada. A4 (210 by 297 mm, about 8.27 by 11.69 inches) is used in the UK, Europe, India, Australia, and most other places. Use the paper size of the country you are applying in.
A4 is a little narrower and taller than Letter. That means the same margins give a slightly narrower text line on A4 and a few extra lines of height. A resume that fits one Letter page may run a line or two differently on A4, so check the page after switching.
| Inches | Centimeters | Millimeters | Text width on Letter | Text width on A4 |
|---|---|---|---|---|
| 1.0 | 2.54 | 25.4 | 6.5 in | about 15.9 cm |
| 0.75 | 1.91 | 19.1 | 7.0 in | about 17.2 cm |
| 0.7 | 1.78 | 17.8 | 7.1 in | about 17.4 cm |
| 0.5 | 1.27 | 12.7 | 7.5 in | about 18.5 cm |
In metric settings, many people simply round to 2.5 cm, 2 cm, or 1.5 cm. Those round numbers are fine.
How to set resume margins in Microsoft Word
- Open your resume and go to the Layout tab (called Page Layout in some older versions).
- Click Margins. You will see presets such as Normal (1 inch all sides), Moderate, and Narrow.
- For an exact size, click Custom Margins at the bottom of the list.
- Type values for Top, Bottom, Left, and Right, such as 0.75 for each.
- Under "Apply to," choose Whole document so both pages match.
- Click OK and check the page in Print Preview (File, then Print).
If Word warns that one or more margins are outside the printable area, your margins are probably too small for your printer. Click Fix, or raise them a little. Word for Mac works the same way: Layout, then Margins, then Custom Margins.
To change the units between inches and centimeters on Windows, go to File, Options, Advanced, and look for the measurement unit setting under Display. More Word-specific tips are in our guide to Microsoft Word resume templates, including how to check that a template's built-in margins have not been changed.
How to set margins in Google Docs
- Open your document and click File, then Page setup.
- Make sure the Pages format is selected, not Pageless. Pageless documents have no page edges.
- Choose your paper size: Letter or A4.
- Enter the Top, Bottom, Left, and Right margins.
- Optional: click Set as default if you want every new document to use these margins.
- Click OK.
You can also drag the gray areas at the ends of the ruler to change margins by eye, but typing exact numbers keeps both sides equal. Google Docs uses your account's measurement units. You can switch between inches and centimeters in Tools, then Preferences, on most accounts.
When you download the file as a PDF (File, then Download, then PDF Document), check that the margins look the same as on screen.
How to set margins in Apple Pages
- Open your resume in Pages.
- Click the Document button in the toolbar to open the Document sidebar.
- Select the Document tab at the top of the sidebar.
- Under Document Margins, type values for Top, Bottom, Left, and Right.
- Check the paper size in the same panel (Letter or A4).
When you export, choose File, then Export To, then PDF. Open the PDF and look at the margins once more, since fonts and line breaks can shift slightly during export. Pages also supports headers and footers. If you use them, keep your name and contact details in the main body, because some hiring software skips header and footer areas.
How margins work with font size and spacing to fit one page
Margins, font size, and line spacing all compete for the same space. When a resume runs a little long, change them in a sensible order so the page stays readable.
- Cut content first. Remove the weakest bullet from older jobs, shorten long lines, and drop outdated skills.
- Fix short trailing lines. A bullet with one or two words on its last line wastes a whole line. Rewrite it to fit.
- Tighten spacing between sections slightly, for example from 12 points before headings to 8.
- Reduce margins from 1 inch to 0.75 inch.
- Adjust font size last, and only by half a point. Body text below 10 points is hard to read.
Example: a resume that spills four lines onto page two
A Letter-size resume in 11-point Calibri with 1-inch margins runs four lines over. Changing side margins to 0.75 inch widens each line by half an inch, which usually pulls a few long bullets back to a single line. Changing top and bottom to 0.75 inch adds roughly three lines of height. Together, those two changes often solve a small overflow without touching the font.
If you are more than a third of a page over, margins will not save you. Our guide on how to make a one-page resume covers what to cut, and our resume fonts guide explains why some fonts take up more room than others at the same size.
Printer-safe margins
Many resumes are only read on screen, but some are still printed for interviews or panel reviews. Most desktop printers cannot print right to the edge of the paper. The unprintable strip varies by printer, often a few millimeters, so text placed too close to the edge can be cut off.
- Margins of 0.5 inch or more are usually safe on typical office printers. 0.75 inch gives a comfortable buffer.
- Bring printed copies to interviews from a printer you have tested.
- Avoid colored backgrounds or borders that run to the page edge. They often print with an uneven white rim.
- If you print on A4 a file set up for Letter (or the reverse), the printer may scale it. Check "Actual size" or "100%" in the print dialog.
Cover letter margins
Margins for a cover letter should match your resume. If your resume uses 1-inch margins, use 1 inch on the cover letter too. If you reduced the resume to 0.75 inch, you can do the same on the letter, but most cover letters have plenty of room, so 1 inch is common.
- Keep the same paper size and the same header with your name and contact details.
- Do not shrink margins to fit a long letter. If it runs past one page, the letter is too long. Cut a paragraph.
- Leave space at the bottom. A letter that ends close to the bottom edge looks crammed.
- For email cover letters, margins do not apply. Keep paragraphs short instead.
For spacing, fonts, and layout of the letter itself, see our guide on how to format a cover letter. If you want both documents to match automatically, the cover letter templates are designed to pair with the resume designs.
Common margin mistakes and a final check
Mistakes to avoid
- Margins under 0.5 inch. The page looks crowded and may be clipped when printed.
- Uneven left and right margins. The text block looks shifted to one side.
- Different margins on page one and page two. Apply margins to the whole document.
- Using margins to fill a short page. Very wide margins look like padding. Add space between sections instead, or keep the page short and focused.
- Contact details in the header area. It saves space, but some systems ignore headers. Keep them in the body.
- Not checking the PDF. Margins can shift slightly when a file is exported or opened on another computer.
Final margin checklist
- All four margins are between 0.5 and 1 inch (1.27 to 2.54 cm).
- Left and right margins are equal.
- Paper size matches the country you are applying in.
- Your cover letter uses the same margins and paper size.
- The PDF looks the same as your editor, with no text near the edge.
- A test print shows nothing clipped.
If you would rather not adjust margins at all, the Mira Resume templates come with margins and spacing already set, and you can choose A4 or Letter before you download your PDF.